From this, I added colour to the piece, by using the brush tool and eraser tool to ensure that the block of colour was within the lineart. I found that when colouring, it helped to colour on a non white background to make sure that you are not using to bright or too dull colours for the fill, using a grey background for example makes the colour standout more and easier to correct if you have the wrong hue. If this image was going to print, I would ensure that the mode was set to CYMK and the colour would be chosen from Pantone hues, so that the printers would know the exact colour to print.
However as this would be for screen only, I ensured that the mode was RGB and used the normal colour wheel as the screen can depict the colours correctly; having said that, there are some screens that perceive colour differently, depending on the brightness and saturation that the monitor is set on.
 |
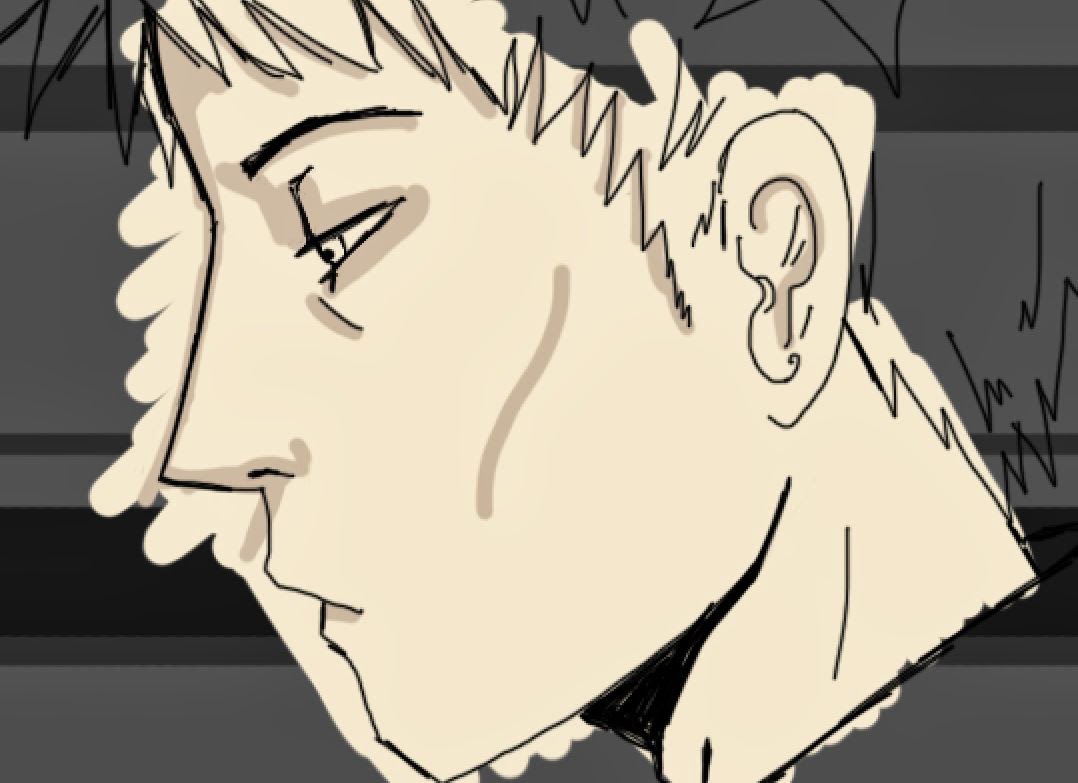
| Rough detail on sketch image |
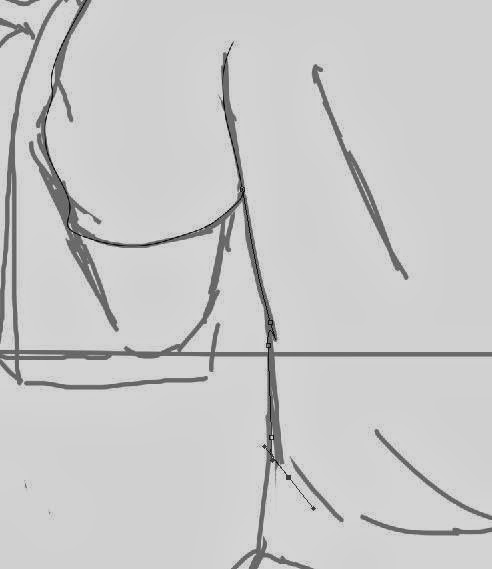 |
| Using the Pen tool |
 |
| Adding colour |
With these key points, I was able to pan across the image, resize and fade into the next image.
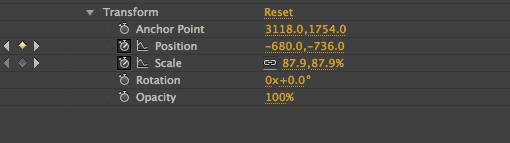
I found that using key points difficult as if I change the position of the first point too much the end point of the movement would change as well, however I was able to fix this by moving the first point which effected the end point, and then moving the anchor point made the transition of the movement work again.
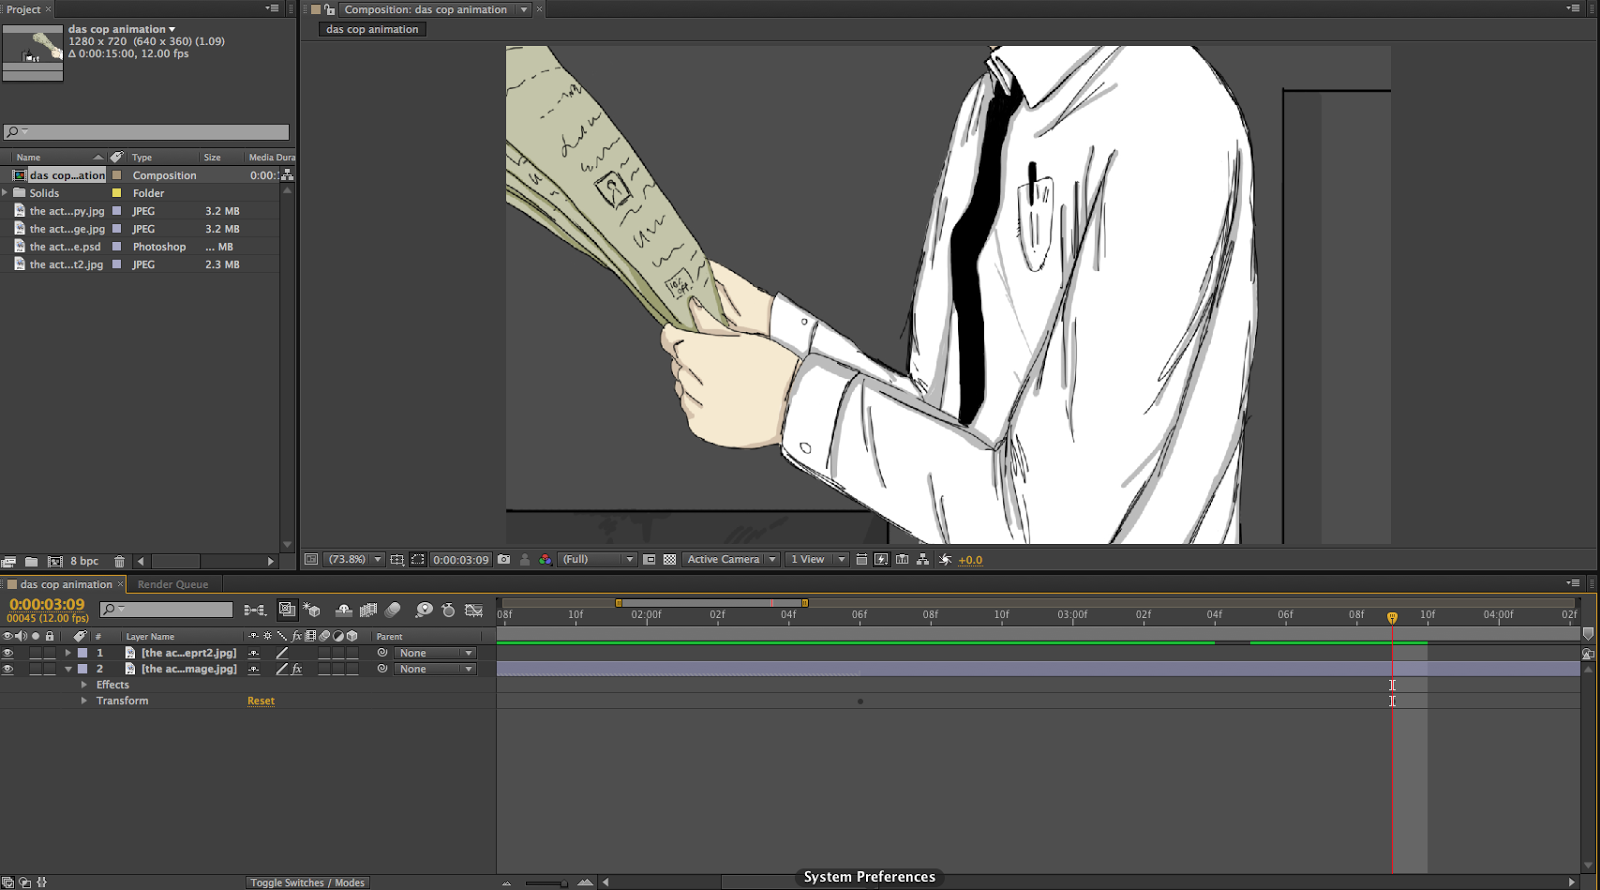 |
| Example of the key points for the position transform tool |
 |
| I mainly used the position and scale tool as it helped to achieve the zoom in look into the image. |
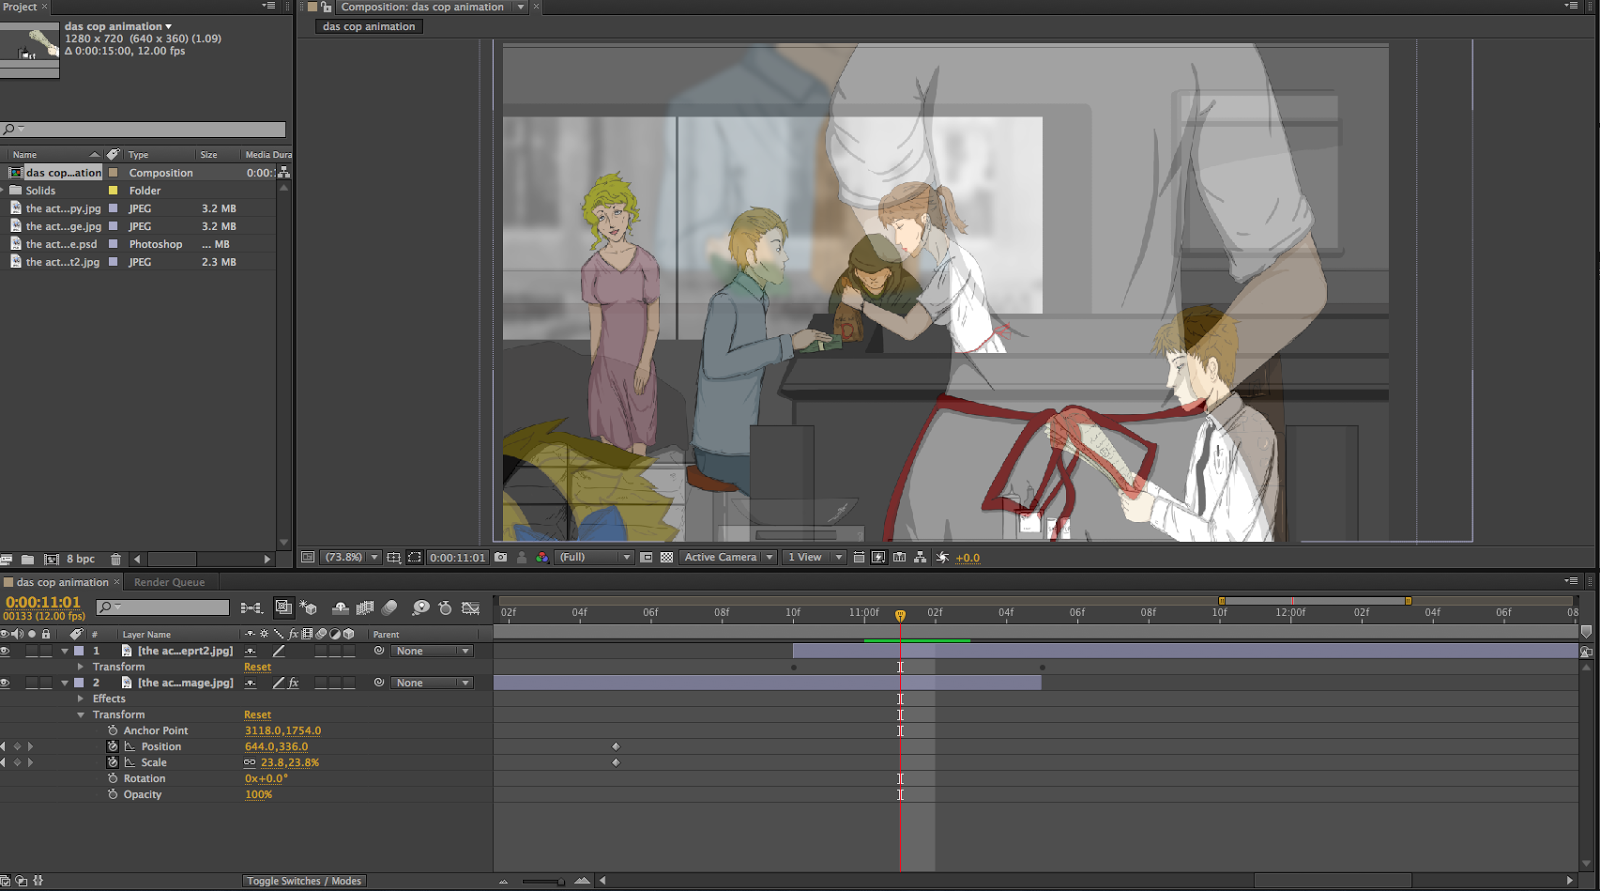 |
| I used the opacity transform points to fade the main image with the ending image, I believe that this worked well as it transitioned smoothly. |
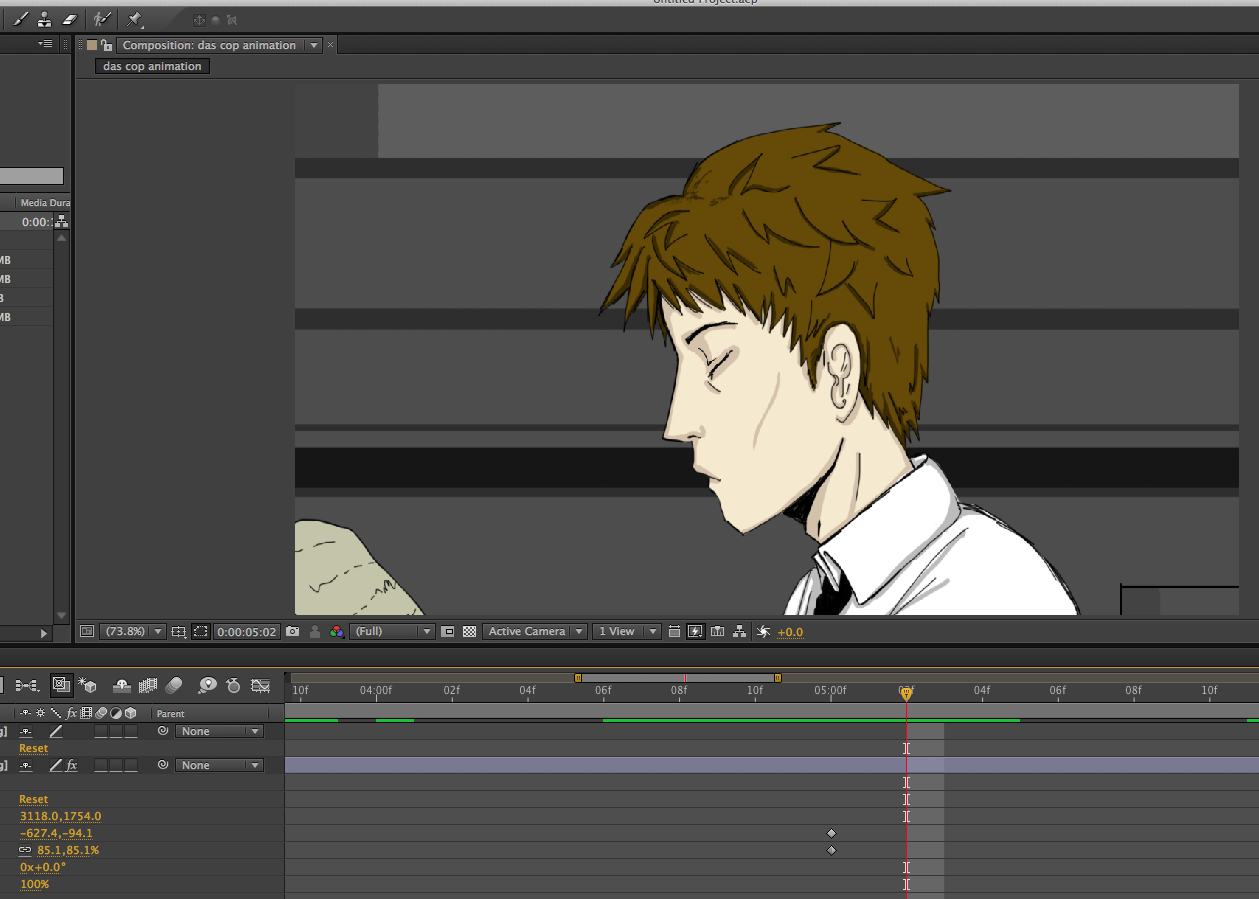 |
| I made the character wink by using the paint brush tool, opening the layer and drawing over the top of the eye at different points of the duration of the image, and removing the layer of paint by using the eraser tool. If I had just deleted the paint layer on top of the eye at the end of the duration of the blink, it would have deleted the wink animation. |
No comments:
Post a Comment